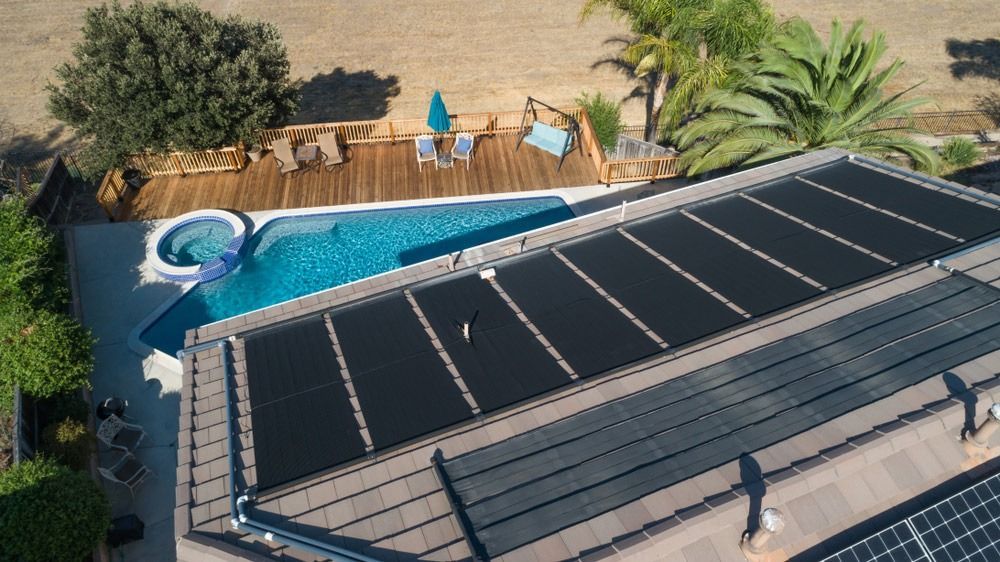
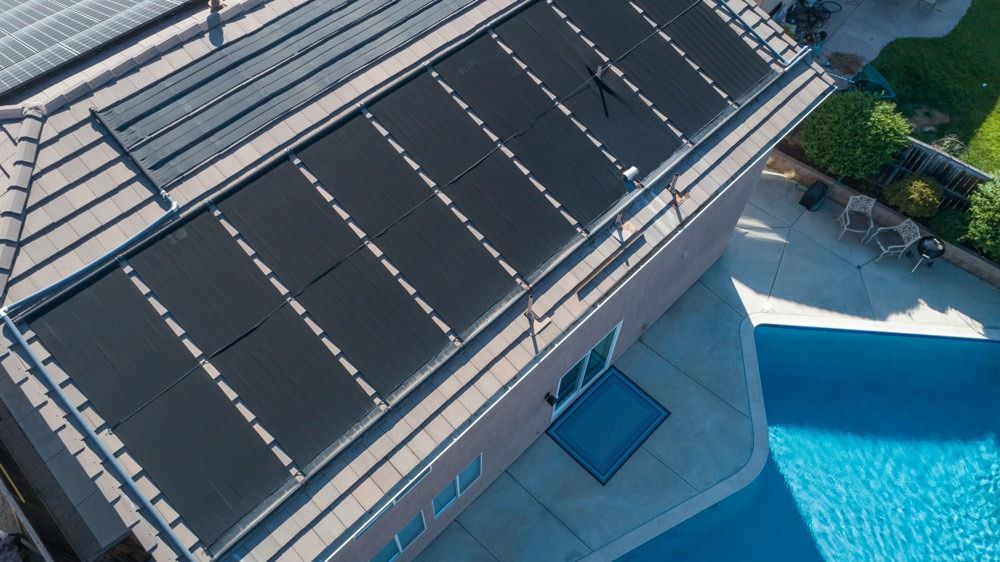
Discover maintenance tips to improve efficiency and extend lifespan of solar pool heating on the Central Coast. Learn more today.
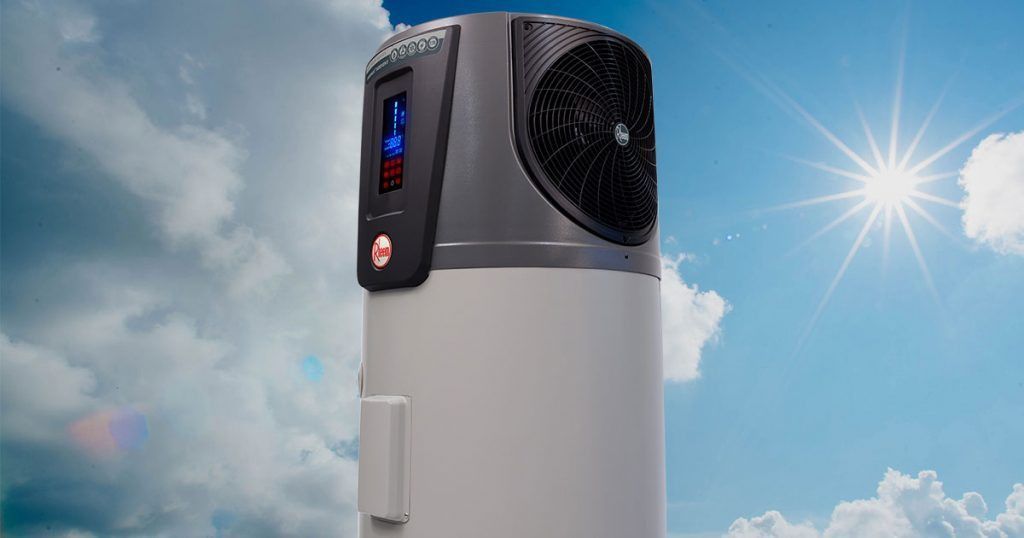
Avoid common pool heating problems on the Central Coast with expert tips on sizing, installation and pool heat pump maintenance. Learn more today.
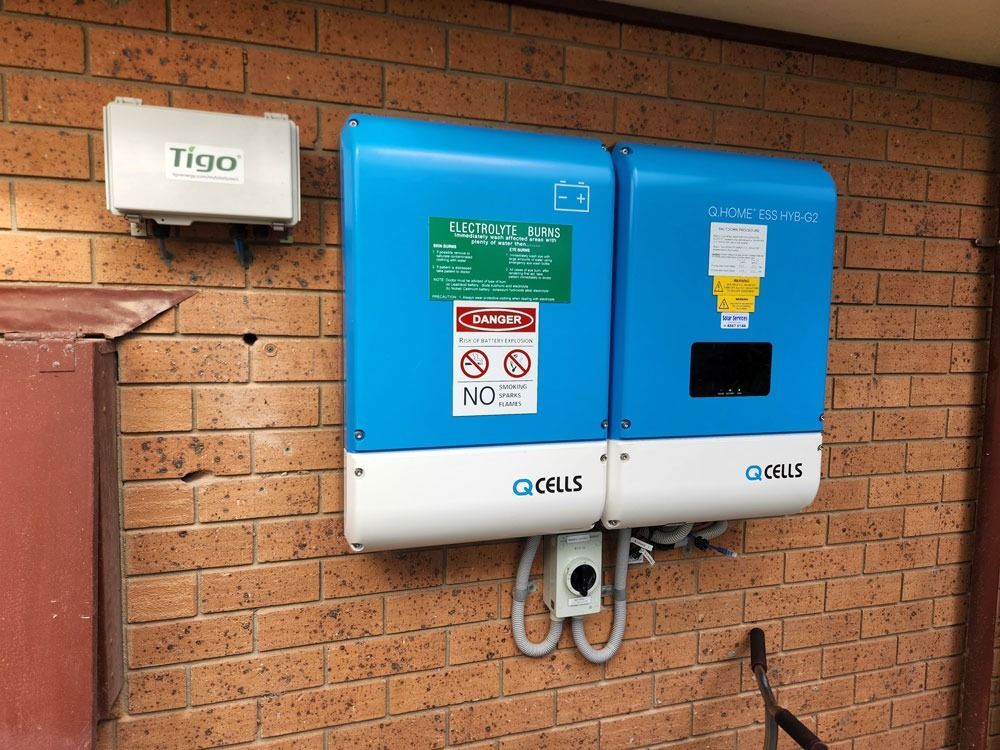
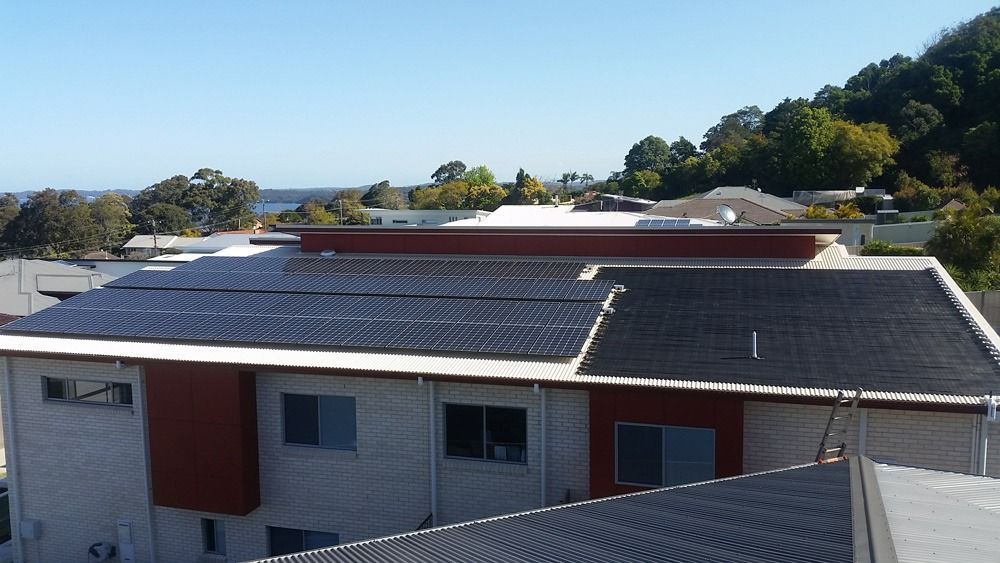
Maximise solar power on the central coast with battery storage, solar panel installation and smart solar energy solutions. Learn more today.
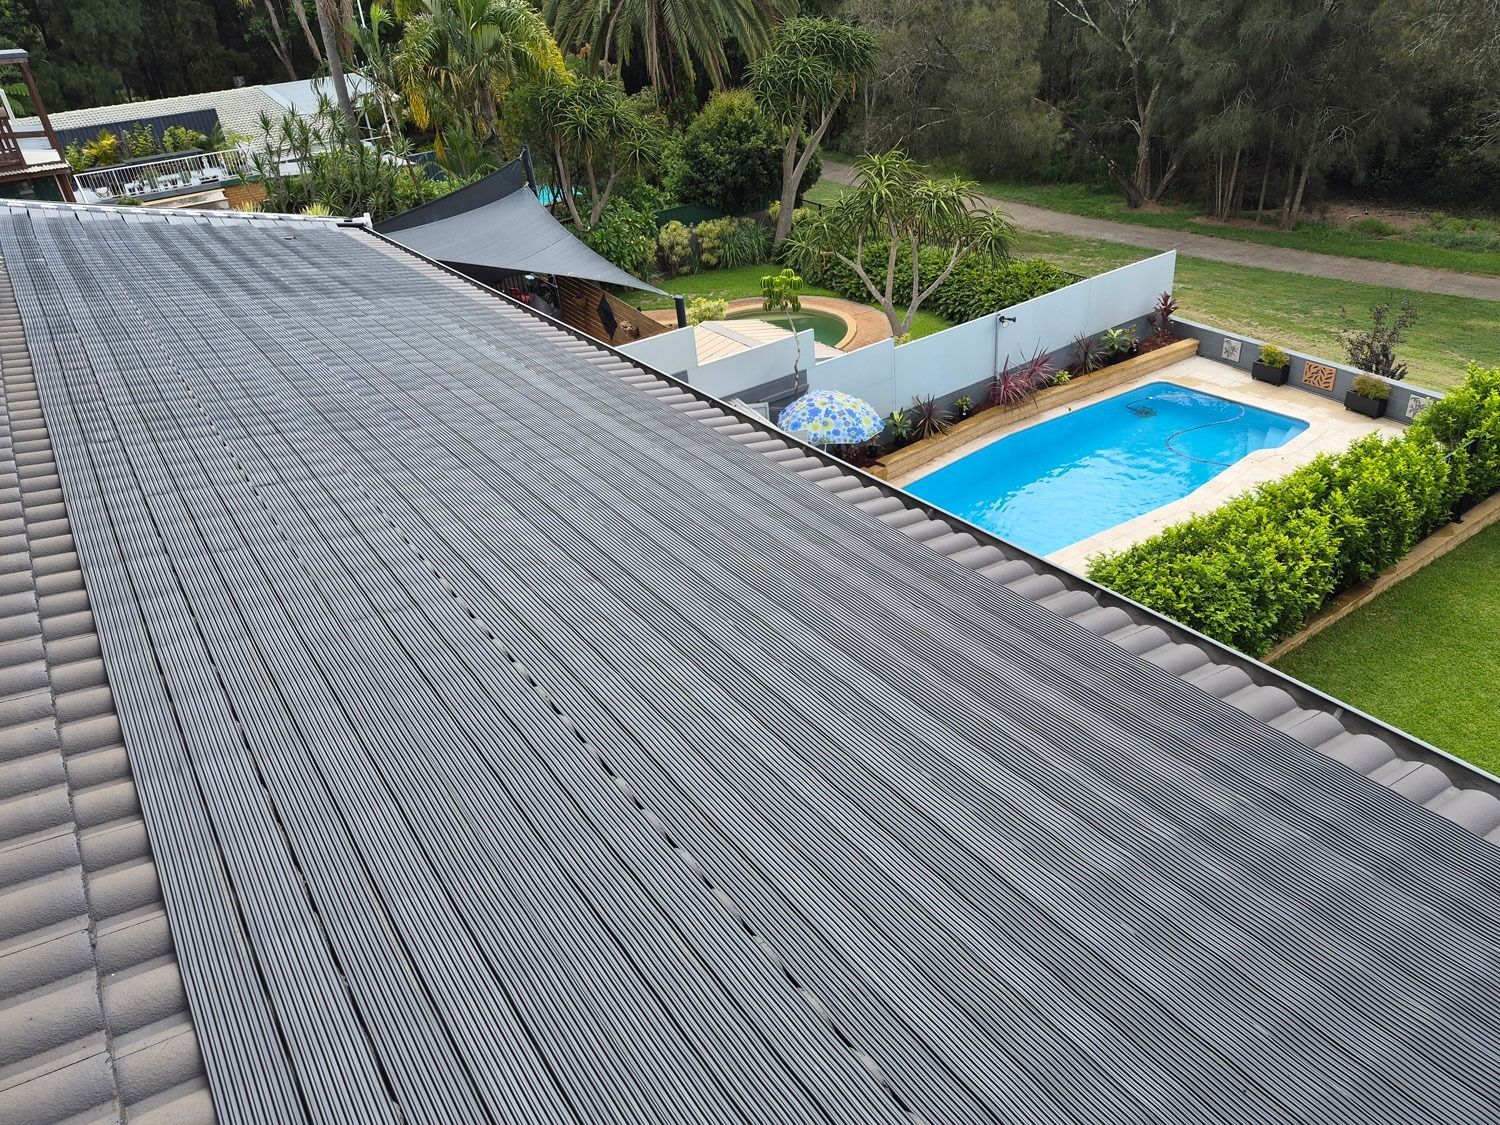
Follow our seasonal checklist to keep solar pool heating on the Central Coast running efficiently and extend system life. Read our blog to learn more.
Discover answers about solar power on the Central Coast. Learn about solar panel installation and solar energy solutions. Enquire today.
Discover the pros and cons of pool heating options to save energy and costs. Learn which system suits your needs best. Read more today.
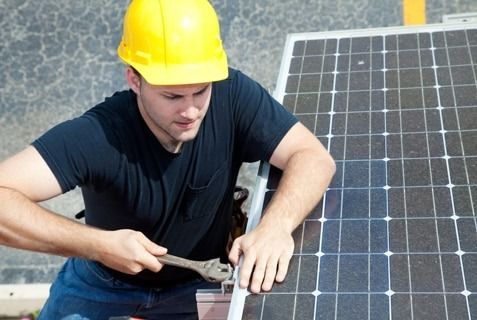
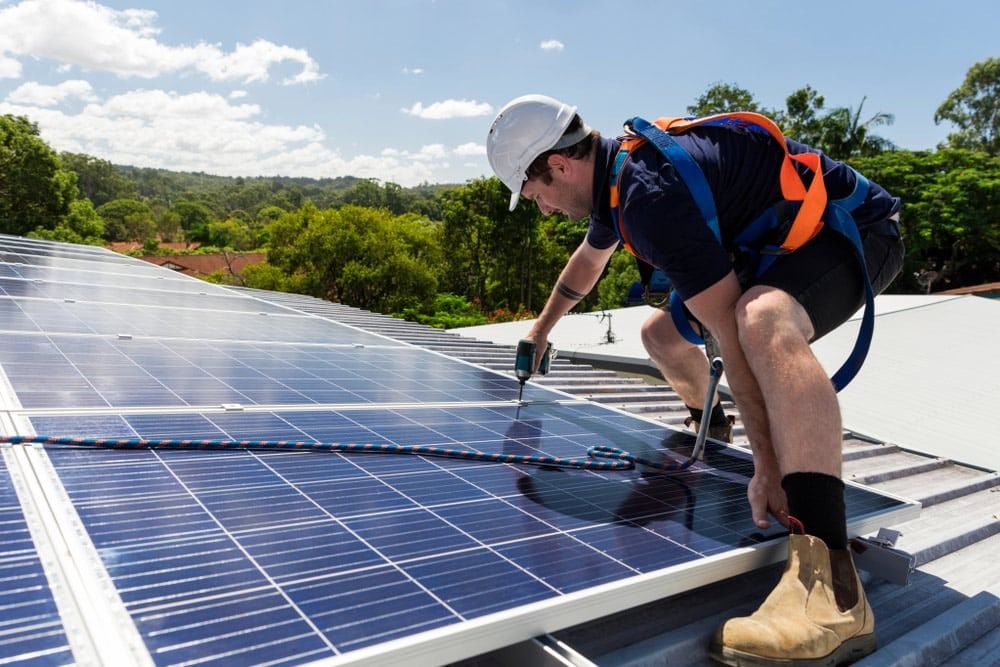
Learn the step-by-step solar panel installation process, from planning to powering your home. Discover how to make the switch to clean energy today!
Learn the key difference between solar power and solar energy, and how each plays a role in creating sustainable, renewable energy for your home.
Discover 10 solar panel problems and how to fix them. Get expert solar power servicing on the Central Coast. Search solar power near me now!
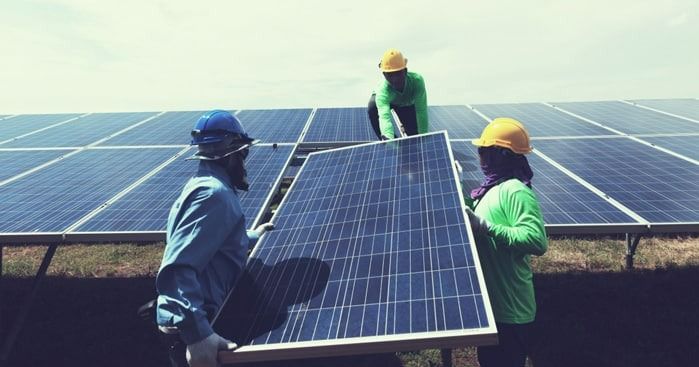
Discover what to know before installing solar power in Central Coast. Make informed choices for long-term savings. Get started today.


